Plastic Wall Panels for Bathrooms: Comprehensive Selection & Guide
Plastic wall panels are a smart way to renovate a bathroom. They save you time and money compared to traditional tile.
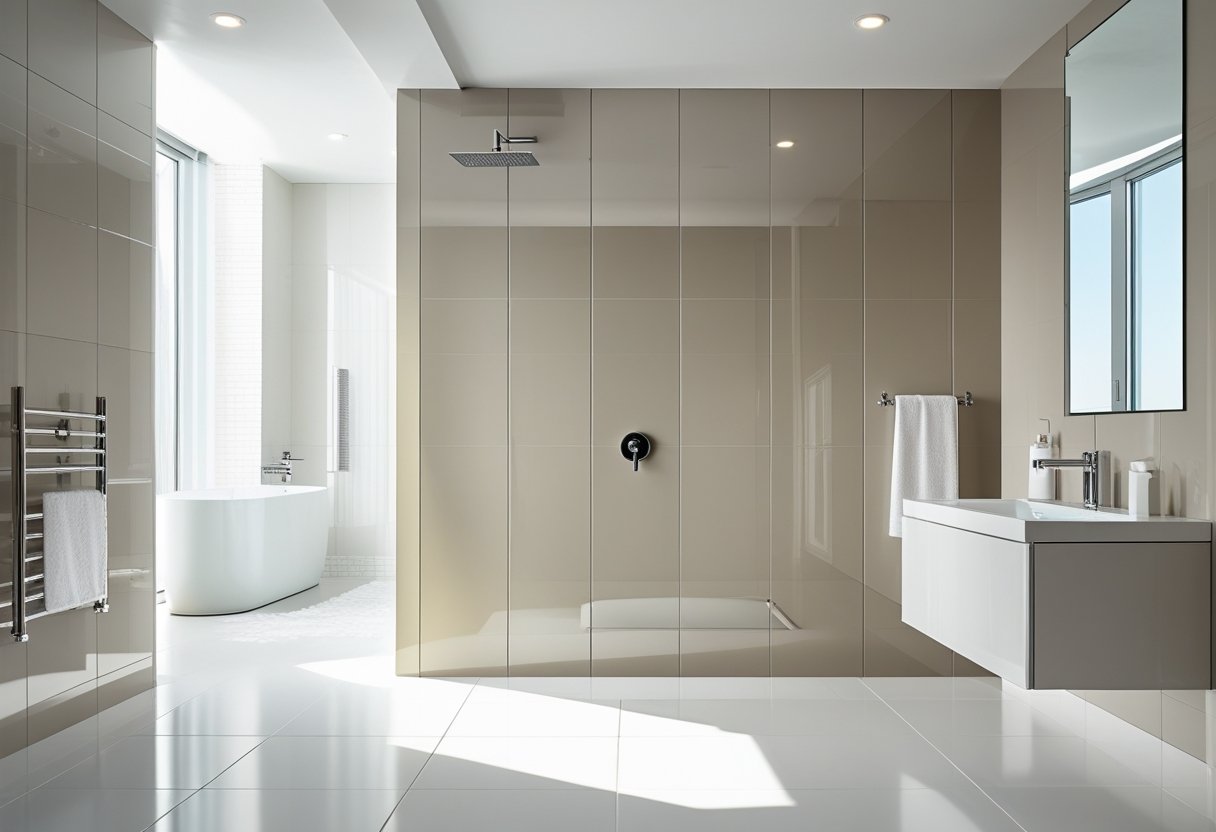
These waterproof panels can transform your space fast, with way less mess. You won’t need to rip out old materials, so it’s easier for DIYers and pros alike.
Dakeeta’s PVC and composite panels are more durable, waterproof, and easier to maintain compared to wallpapers. They also resist mold and mildew, which is critical in damp bathrooms.
You can usually install Dakeeta wall panels right over old tile or drywall. That means you’ll skip a lot of demolition and keep costs down.
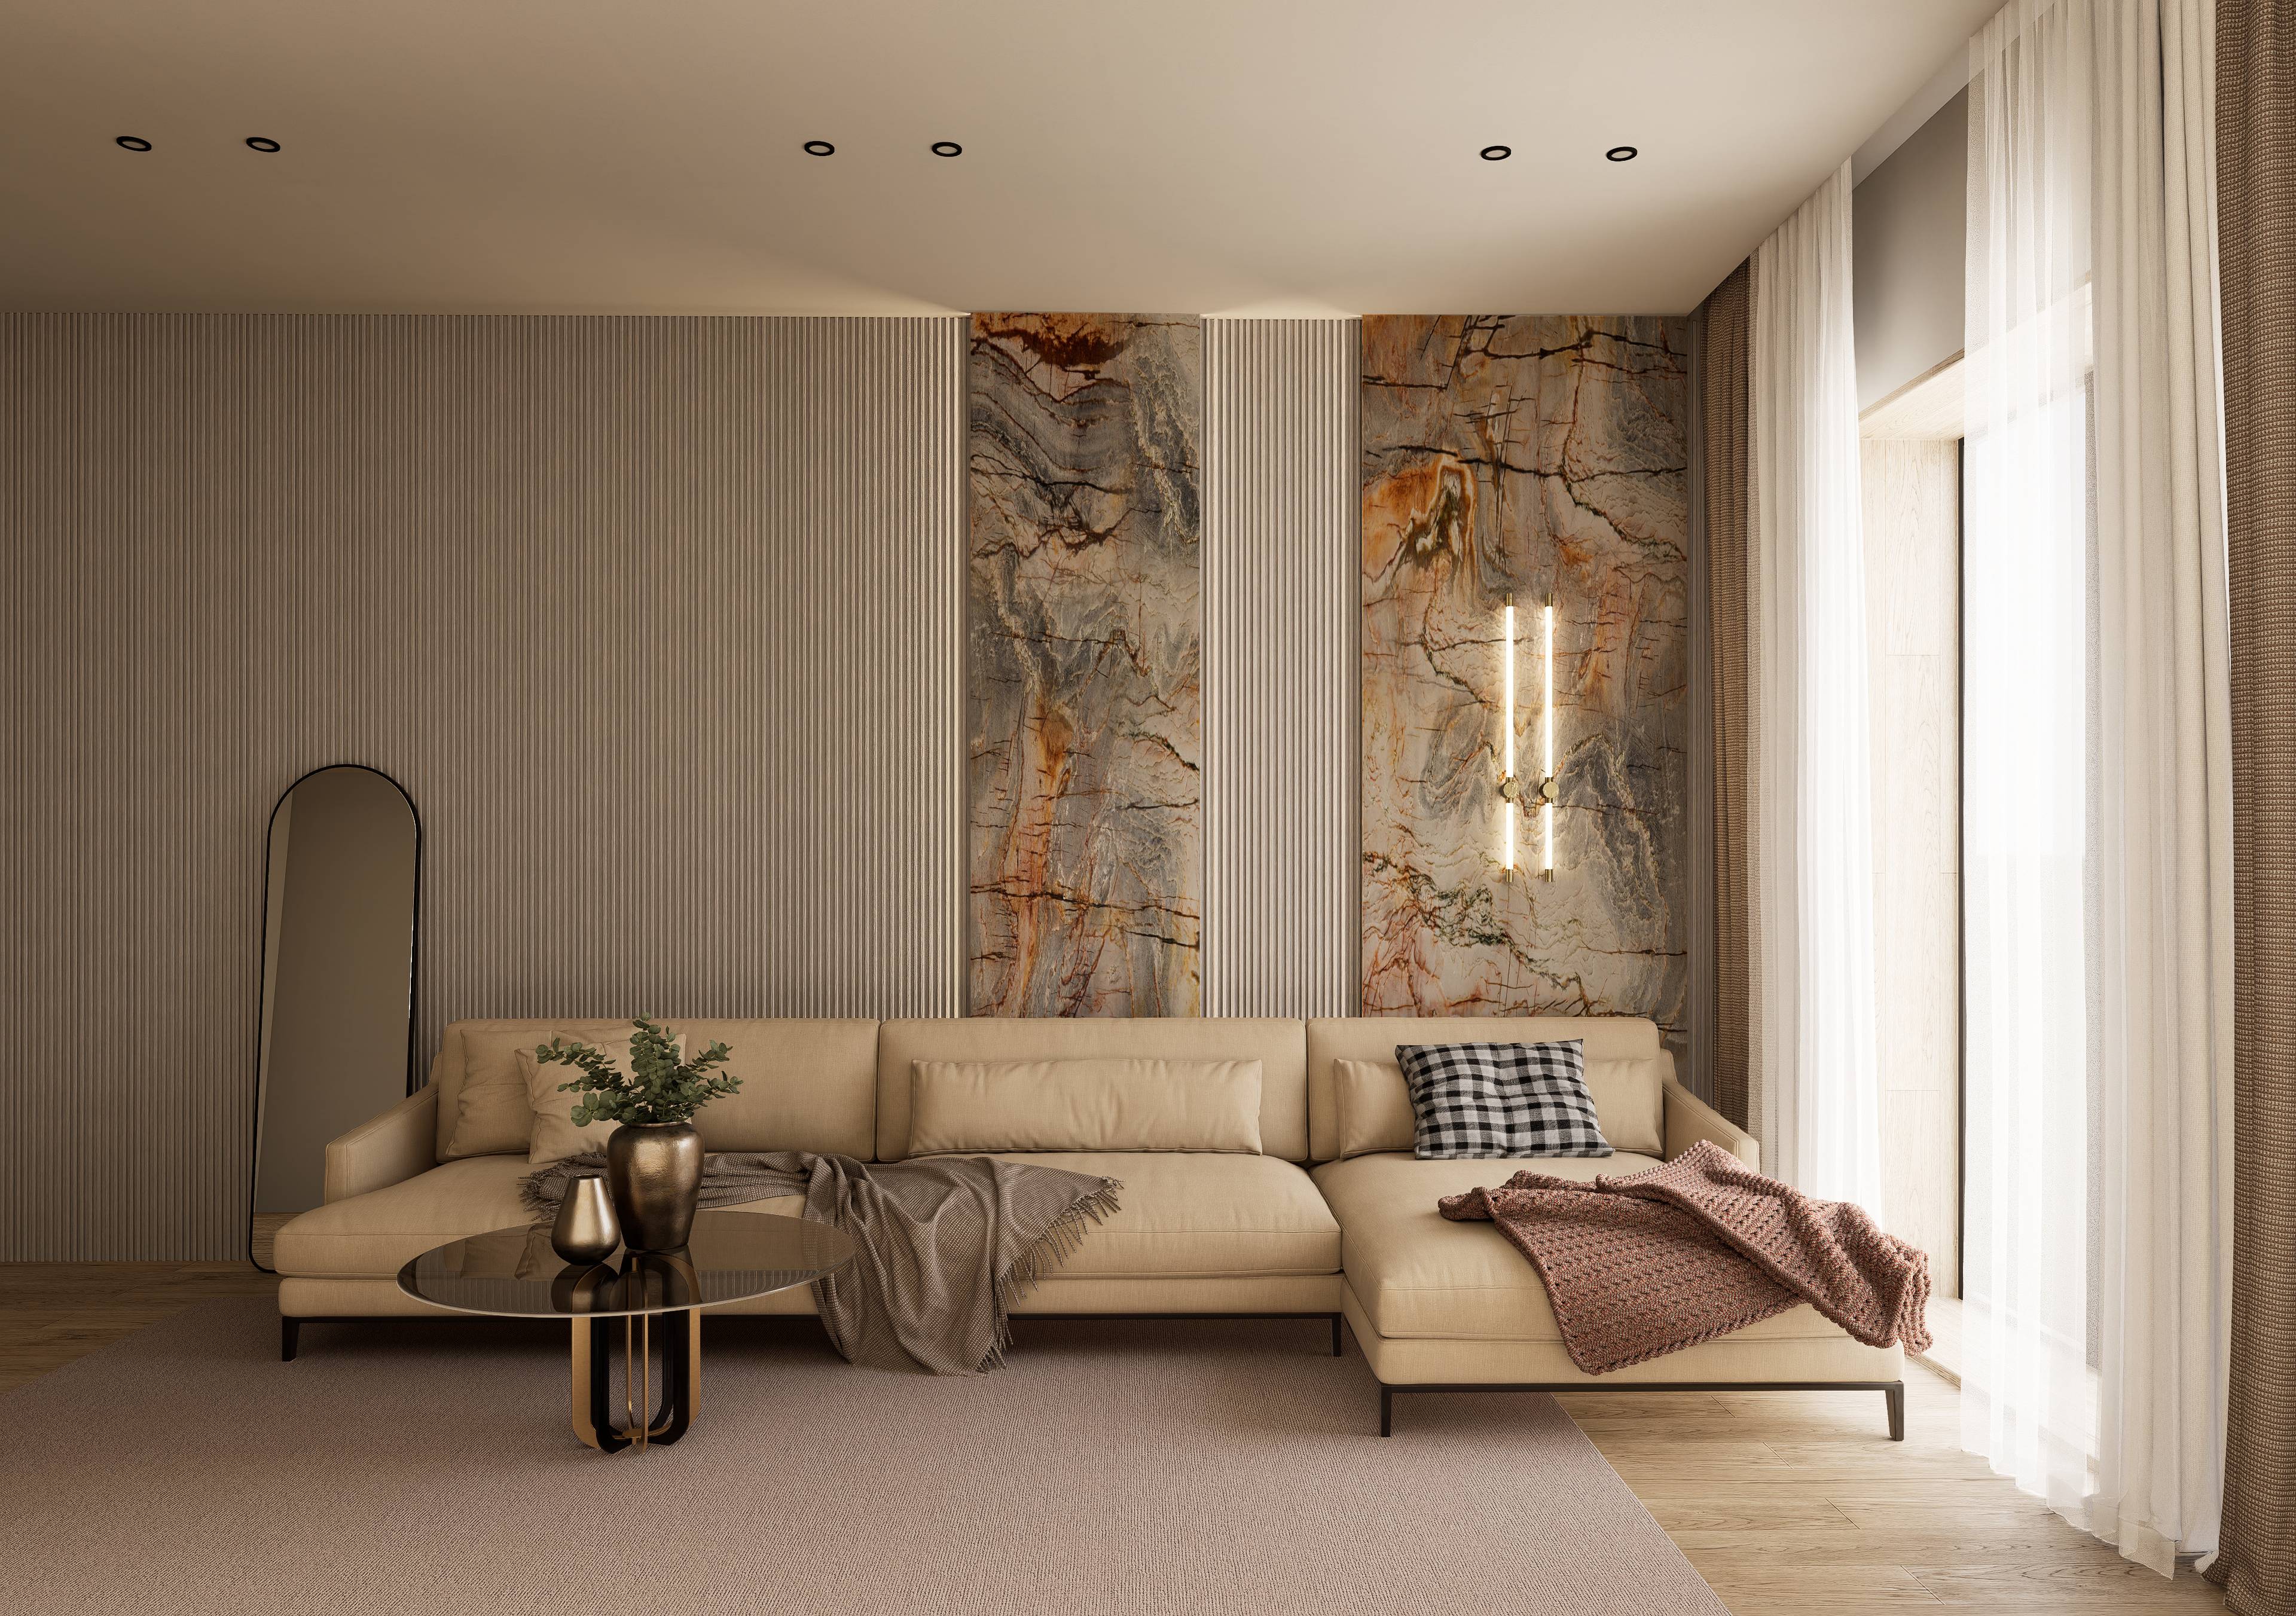
Today’s wall panels come in all sorts of styles. Some look like stone, some like wood, and others have sleek, modern finishes.
Whether you’re after a budget-friendly fix or something fancier, Dakeeta panels let you get creative. They deliver waterproof protection and plenty of design options.
Key Takeaways
- Plastic wall panels keep water out and fight mold better than wallpaper or painted drywall.
- You can often install them right over what’s already there, so no need for messy demolition.
- Styles range from marble and stone looks to super modern designs for any budget.
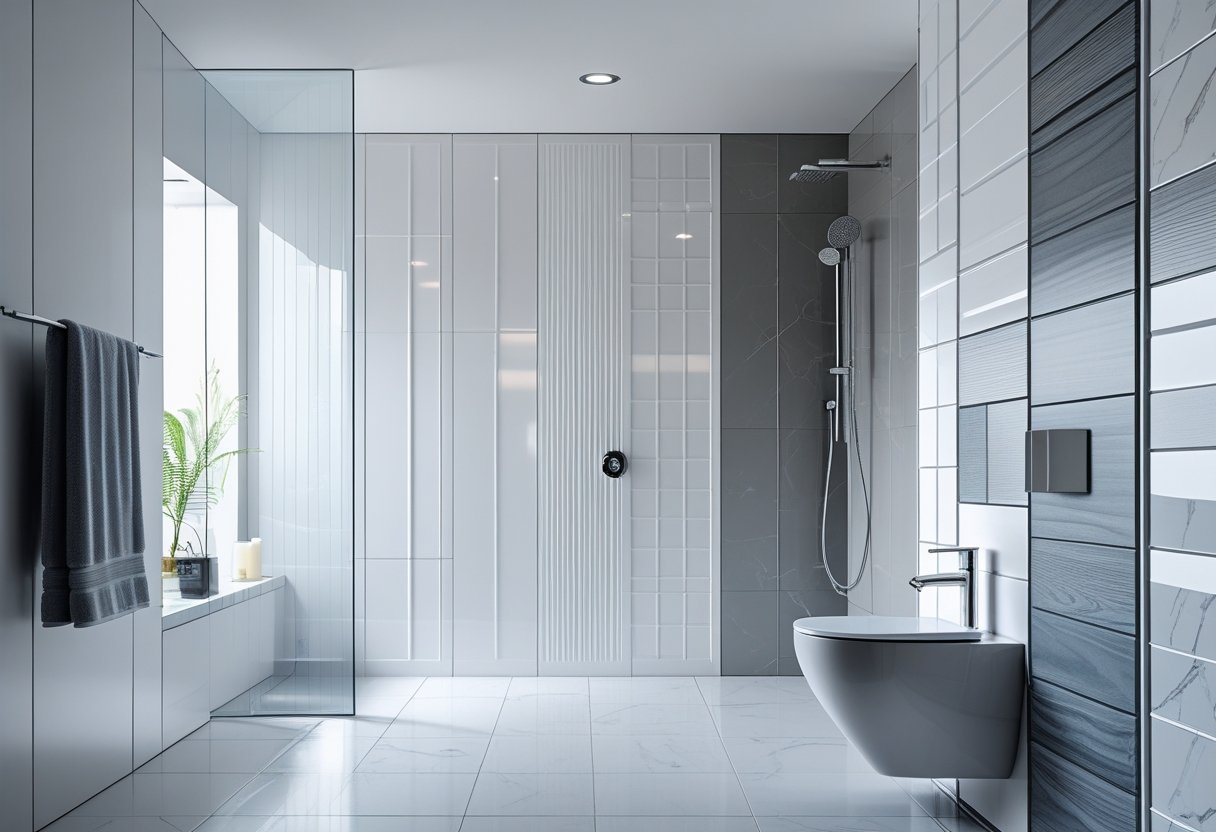
Types of Plastic Wall Panels for Bathrooms

Plastic bathroom wall panels come in a few main types, each with their own perks. Dakeeta’s proprietary wall panels—including WPC (wood-plastic composite) and UV Marble Sheets—are totally waterproof, easy to clean, and bring a huge range of design choices.
Dakeeta WPC Wall Panels
Dakeeta’s WPC (Wood-Plastic Composite) bathroom wall panels are made from recycled wood fibers and advanced plastics. These panels handle wet spaces really well.
They’re waterproof and won’t let mold or mildew take hold.
Key Benefits:
- 100% waterproof
- Lightweight and simple to put up
- Stop mold and mildew
- Easy to clean
- Eco-friendly (made with recycled materials)
- Multiple finishes: matte, glossy, embossed textures, and custom colors
Dakeeta panels come in loads of colors and styles. You’ll find panels that look like marble, tile, concrete, or wood.
It’s usually a breeze to install Dakeeta panels. Most of the time, you can mount them right over old tiles and skip the hassle of tearing things out.
Dakeeta UV Marble Sheets
Dakeeta’s UV Marble Sheets offer a realistic marble look with the benefits of advanced plastics. These are perfect for bathrooms where you want a luxury finish with waterproof and easy-clean properties.
- High-definition marble appearance
- UV-cured surface resists scratches, stains, and fading
- Waterproof and moisture-resistant
- Lightweight and easy to install
- Low maintenance, easy to clean
- Eco-friendly, recyclable materials
These sheets are available in 3D embossed, high-gloss, and custom design options—ideal for bathroom renovations wanting the marble look without the high cost or upkeep.
Key Benefits of Plastic Wall Panels
Plastic wall panels keep water out better than most old-school materials. They don’t soak up moisture, so you avoid a lot of the headaches you get with drywall or wood.
You won’t need fancy cleaning routines, either. Just a wipe with a cloth or a splash of bathroom cleaner, and they look good as new.
Waterproof and Moisture Resistance
Dakeeta wall panels are made to shrug off moisture, which is exactly what you want in a bathroom. They don’t absorb water, unlike drywall or wood.
This waterproof layer keeps mold and mildew from growing behind the wall. Your bathroom stays healthier, and you sidestep long-term damage.
Key moisture benefits:
- No water gets through the panel
- Joints are sealed tight against leaks
- Steam and humidity won’t hurt the surface
- Stops the rot you see with wood panels
You can use these panels in showers, around tubs, or near sinks. They hold up even with daily steam and splashes.
Low Maintenance and Easy Cleaning
Plastic wall panels need almost no maintenance. Dakeeta panels just need a quick wipe to stay looking fresh.
Cleaning takes only a few minutes. The surface is smooth, so dirt and soap scum don’t stick like they do on tiles.
Simple cleaning routine:
- Wipe with warm soapy water
- Use regular bathroom cleaners
- No special sealers or treatments required
- No grout lines to scrub
You’ll save time and money on cleaning supplies. The panels don’t stain easily, even with everyday bathroom products.
Durability and Impact Resistance
Plastic panels can take a beating. They resist chips, cracks, and scratches way better than tiles or painted walls.
The material flexes if something bumps into it. If you drop something heavy, these panels bend instead of shattering.
Durability advantages:
- Stands up to impacts
- Lightweight, so less strain on walls
- Doesn’t crack with temperature swings
- Normal use won’t leave marks
Quality panels can last for decades. Dakeeta wall panels are built to last and make sense financially over time.
Fire and Chemical Safety
Dakeeta wall panels meet fire safety codes. They don’t catch fire easily and don’t make fires spread faster.
They’re also tough against bathroom chemicals. Bleach, peroxide, and other cleaners won’t mess up the finish if the panels are made right.
Safety features:
- Many have self-extinguishing properties
- Resist household chemicals
- No toxic fumes under normal use
- Meet building codes for inside walls
Use your usual bathroom cleaners without worry. The panels keep their looks and safety even after regular cleaning.
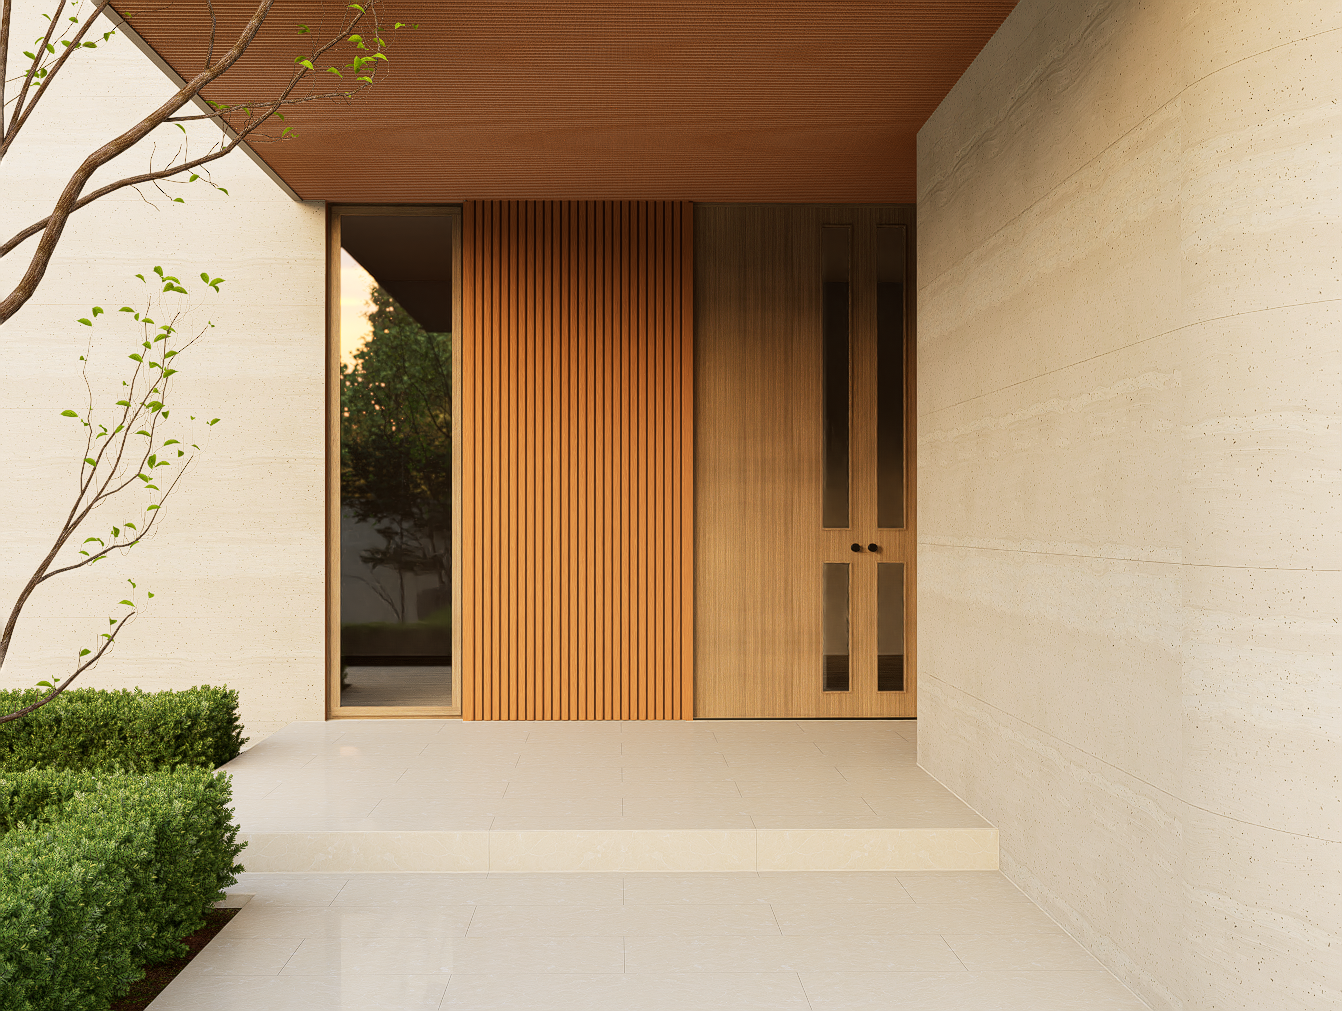
Designs and Style Options
Plastic wall panels give you tons of design freedom. Dakeeta’s PVC, WPC, and UV Marble Sheets come in marble effects, wood grains, and solid colors.
You’ll find geometric patterns, classic beadboard, or modern smooth finishes. There’s something for every bathroom style.
Color and Texture Choices
Dakeeta wall panels offer marble-effect designs like calacatta and blue veined styles. You get that fancy stone look without the big price tag.
Wood-look textures are a favorite for making bathrooms feel cozy and natural. Pair wood-look panels with lighter floor tiles for a smooth, welcoming vibe.
White panels are always popular for a clean, minimal look. Waterproof white wall panels help small bathrooms look bigger and brighter.
Popular color options include:
- Neutral tones: Whites, grays, beiges
- Bold colors: Navy, forest green, charcoal
- Natural finishes: Stone gray, marble white, wood brown
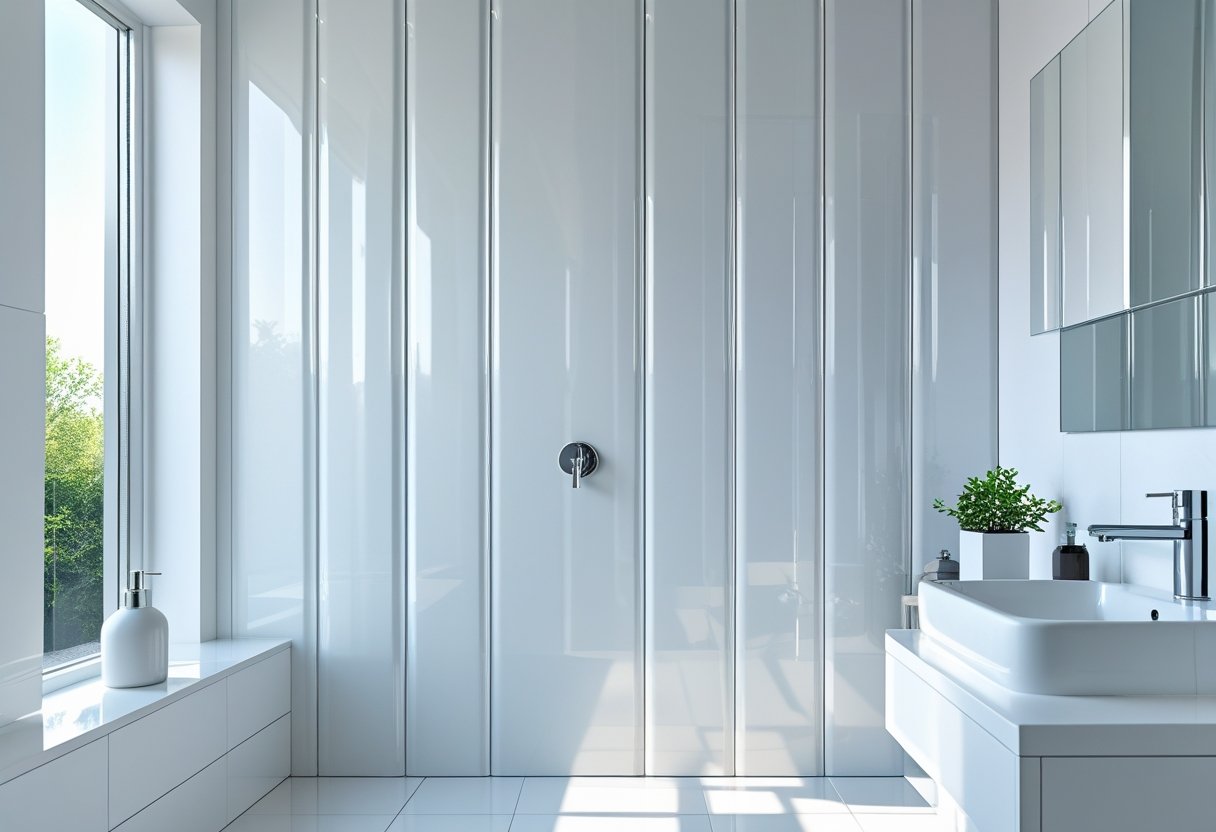
Contemporary and Classic Looks
Modern bathrooms really come alive with sleek, flat panels and barely-there texture. You get those crisp lines that pair up nicely with floating vanities and frameless mirrors.
Shiplap-style panels add a bit of farmhouse charm to any bathroom. The horizontal grooves catch the eye but still keep all the waterproof perks of plastic panels.
Beadboard patterns bring in a traditional vibe with their vertical grooves. This farmhouse look works especially well in powder rooms and guest baths.
Going for a coastal theme? Try light blue or white panels with just a hint of texture. Those colors give the space that breezy, beachy energy.
Luxury options include panels that look like leather or natural stone. These high-end finishes add a bit of sophistication to master bathrooms.
Customizable Patterns
3D wall panels let you play with geometric patterns—think honeycomb or abstract shapes. Dakeeta specializes in textured panels.
You can mix up panel directions for a custom effect. Vertical panels make ceilings seem taller. Horizontal panels help narrow rooms feel a little wider.
Pattern combinations are great for accent walls. Put textured panels on one wall and keep the others smooth for contrast.
Geometric options? Sure, here are a few:
- Hexagon patterns
- Diamond shapes
- Wave textures
- Linear grooves
Some brands will custom print panels if you want something unique or even photo-realistic for a statement wall.
Installation Methods for Plastic Bathroom Panels
You'll want to let panels acclimate for 24 hours, start with clean walls, and use adhesives made for wet areas. Most folks use solvent-free adhesives and silicone for sealing, and DIY is totally doable with some patience and basic tools.
Preparation and Wall Surface Requirements
Let your panels sit in the room for 24 hours before you start. Plastic panels expand in humidity, so laying them flat keeps you from running into fit issues later.
Clean your installation area really well. Any dirt, film, or residue can mess up how the adhesive sticks.
Wall Surface Checklist:
- Remove all existing tile
- Fill uneven spots with drywall compound
- Sand everything smooth
- Check that walls are nice and flat
Don't install panels over tile. Tile is too smooth for good adhesive bonding, and grout lines throw off the surface.
Moisture gets trapped between tile and panels, which can lead to mold or adhesive failure over time. Not worth the risk.
Panel Fitting and Sealing
Measure each wall and subtract 15mm at the top, bottom, and middle. That leaves space for trims and expansion.
Cut panels with the right technique. Handsaws work best with the decorative side up, jigsaws with the face down.
Installation Steps:
- Install internal corner trims first with adhesive
- Spread adhesive evenly on panel backs
- Add silicone beads inside trims
- Press panels into place, working out air pockets
- Apply silicone in grooves for shower areas
Stick to solvent-free, waterproof adhesives. For sealing, use neutral cure, low modulus silicone.
Leave a 2-3mm gap around pipes and fixtures. Seal those gaps with waterproof silicone.
DIY Versus Professional Installation
DIY install works out fine if you prep well and have the right tools. You'll need basics like a handsaw, level, measuring tape, and adhesives.
Required Tools:
- Handsaw or jigsaw
- Hacksaw for trims
- Spirit level
- Measuring tape
- Masking tape
The job is mostly cutting, fitting, and sealing—no fancy construction skills required. Most folks can finish a bathroom in a weekend.
Going pro gets you flawless results and a warranty. Contractors bring specialized tools and know-how for tricky layouts.
If your bathroom is big, has complicated plumbing, or you’re not confident, it’s smart to hire help. Let adhesive cure for 24-48 hours before using the shower, no matter who does the install.
Cost Considerations and Where to Buy
Dakeeta bathroom wall panels are competitively priced, offering a high-value solution for both residential and commercial renovations.
Price Range Overview
Entry-level Dakeeta panels start at accessible prices and come in plain colors with smooth finishes.
Mid-range panels feature better textures and wood-grain looks. Some have extra waterproofing built in.
High-end panels mimic stone or tile and usually have thicker construction and stronger warranties.
Installation costs vary based on the project’s complexity and local labor rates.
A typical bathroom using Dakeeta panels is a cost-effective solution compared to traditional tile and ongoing maintenance.
Where to buy: Dakeeta products are available direct from the manufacturer, ensuring you get the best price and support. For quotes, samples, or local dealer information, contact Dakeeta at info@dakeeta.us or visit their showroom at 4620 S Sam Houston Pkwy W Suite 430, Houston, TX 77053.
Frequently Asked Questions
Getting a perfect fit with plastic wall panels means measuring and cutting carefully. Dakeeta panels beat tile for water resistance and easy cleaning, and they’ll last over a decade in a steamy bathroom.
How do I install waterproof wall panels in a bathroom?
You can install Dakeeta bathroom panels yourself—no fancy tools needed. Adhesive and mounting systems make DIY pretty straightforward.
Start by cleaning your wall surface. Remove any loose paint, wallpaper, or gunk that could keep the panels from sticking.
Measure your walls before you start. Mark reference lines with a level to keep things straight.
Spread adhesive on the panel backs. Press each one to the wall and hold for about 30 seconds to set the bond.
Tongue and groove panels lock together and use silicone inside the groove, creating a waterproof seal.
What are the advantages of using Dakeeta wall panels for bathrooms compared to traditional materials?
Dakeeta panels keep water out when installed right. They form a barrier that stops moisture from sneaking behind the walls.
Cleaning is easy—just soap and water. You skip scrubbing grout or fighting mold like you do with tile.
Installation costs less than tiling. Labor is cheaper since panels go up faster than tiles.
Dakeeta panels hold up better to bumps than ceramic tiles. They won’t crack or chip if you drop something.
Maintenance is a breeze. No need to reseal grout or swap out broken tiles.
Can interlocking Dakeeta wall panels be used for shower walls?
Absolutely, Dakeeta panels work great in showers if you install them correctly. The interlocking system makes watertight seals that block moisture.
Pick thicker panels such as 8mm or 10mm for showers. They’re tougher and handle daily water better.
Use silicone sealant along all edges and corners. That boosts waterproofing where panels meet fixtures or other walls.
The tongue and groove design snaps panels together tight. Every joint helps keep water out of the wall behind.
Professional installers get the best waterproofing. If you’re not sure about sealing, hiring a pro is a good idea.
Are waterproof bathroom wall panels available in different designs and textures?
Dakeeta offers a wide range of designs and textures, from wood grain to marble effects to modern 3D embossed looks.
Plastic panels can look a lot like wood, stone, or tile. These realistic finishes give you the vibe you want and you won't have to stress about constant upkeep.
Textured surfaces add visual interest to bathroom walls. Options include smooth, embossed, or brushed finishes that work with all sorts of styles.
The color selection runs from classic whites to bold accent shades. You can match your fixtures or go for contrast, depending on your mood.
Patterns? There are geometric designs, wood grain, and even marble effects out there. It's honestly pretty easy to chase whatever look you're after.
What is the expected longevity of Dakeeta plastic wall panels in a humid bathroom environment?
Dakeeta wall panels last for years if you take care of them, often holding up well past a decade in typical bathroom conditions. Good panels stand up to humidity that would wreck other materials.
Dakeeta’s advanced materials don't soak up moisture or let mold grow. That pretty much wipes out the usual issues you get with wood in damp spaces.
When you install panels the right way, they last much longer. Making sure everything's sealed and mounted properly keeps water out and avoids headaches later.
Just cleaning them regularly keeps panels looking sharp. It's a simple routine, but it really pays off over the years.
Even when the bathroom heats up or cools down, Dakeeta panels stay steady. They don't warp or crack, so you don't have to worry about temperature swings messing things up.
How do I measure and cut plastic wall panels for a custom fit in my bathroom?
Measure each wall section on its own. Bathroom walls rarely line up perfectly, so it's worth taking your time with this step.
Grab a tape measure and jot down the height and width for every area. Write them down right away—it's amazing how easily numbers get mixed up later.
Mark your cutting lines directly on the panel. A straight edge or ruler helps keep things tidy and accurate.
Cut the panels with a fine-tooth saw or, for thinner stuff, a sturdy utility knife. Score it deep, then snap—it's oddly satisfying when it breaks cleanly.
Test fit each piece before you commit. It's a little extra work, but it saves headaches if something's off near a fixture or in a tricky corner.
Don't forget to leave small expansion gaps around the edges. That way, the panels have room to move with temperature swings and won't end up buckling.